Do you feel like your hips are stiff and inflexible? Do you feel like you can’t make any progress even though you practice regularly?
Repeating the same exercise routine or positions over and over can reduce the mobility of your hips.
In this article I will recommend some positions that will help you work on opening your hips.
Greater flexibility of the hips brings various benefits on a physical level and for health in general:
- Greater ease in carrying out your daily activities.
- Increased range of motion.
- Reduction of back pain.
- Positive repercussions in any sport practiced.
Here are five yoga poses to try that will help you open your hips.
1. Baddha Konasana
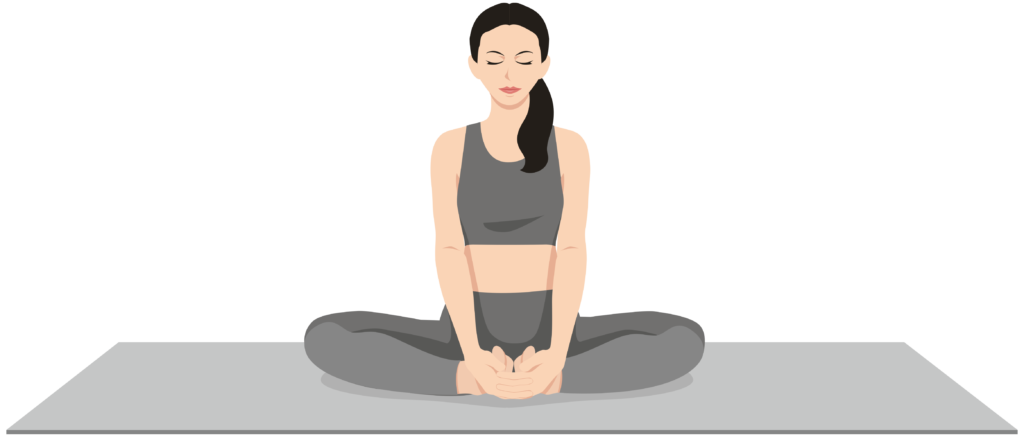
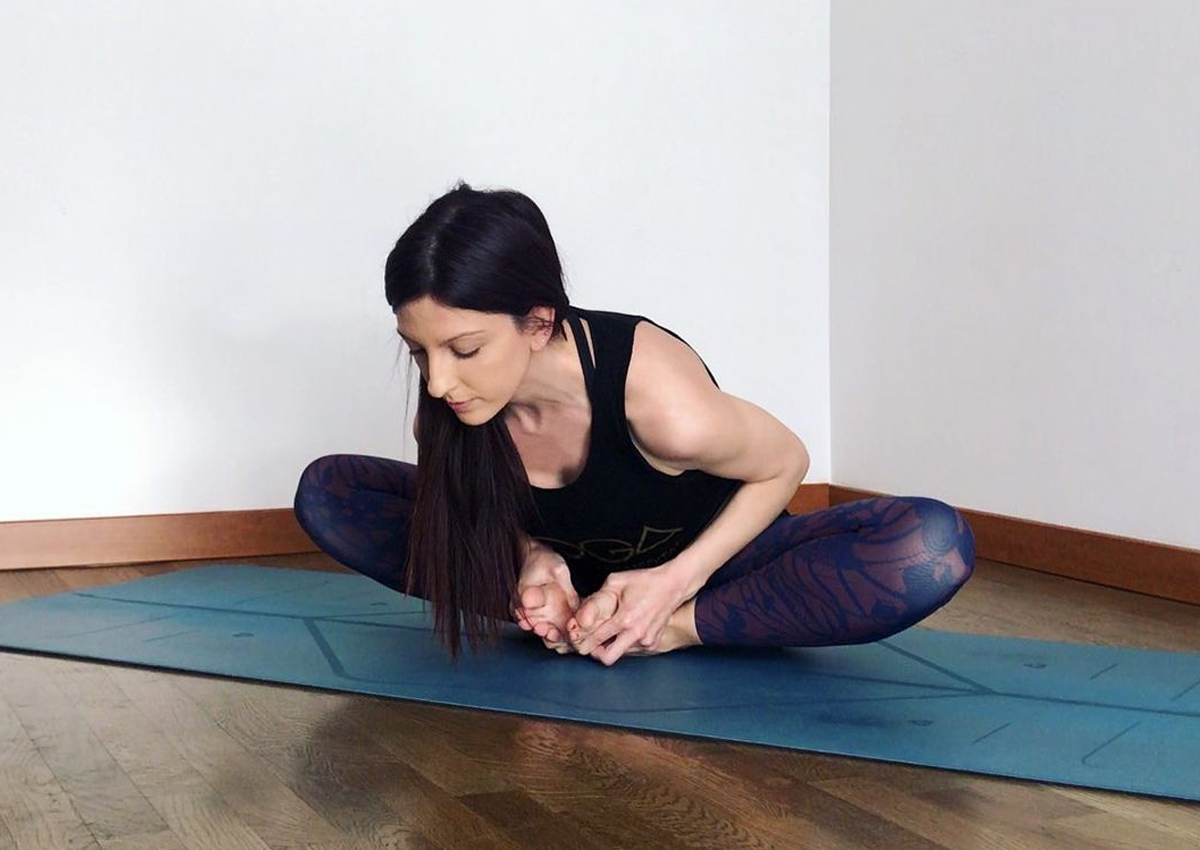
- Start by sitting on the mat with your legs extended in front of you, bend your knees and bring your heels towards your groin.
- Open your knees outwards and let them slowly fall towards the floor, bringing the soles of your feet into contact with each other but leaving the tops of your feet open, as if they were a book.
If your knees don’t touch the floor and you feel some tightness, you can place blocks under your knees to support them. - Grasp your feet with your hands, keep your back straight and your arms extended.
- Hold the position for at least 5 breaths, inhaling and exhaling deeply. If you can, keep even longer.
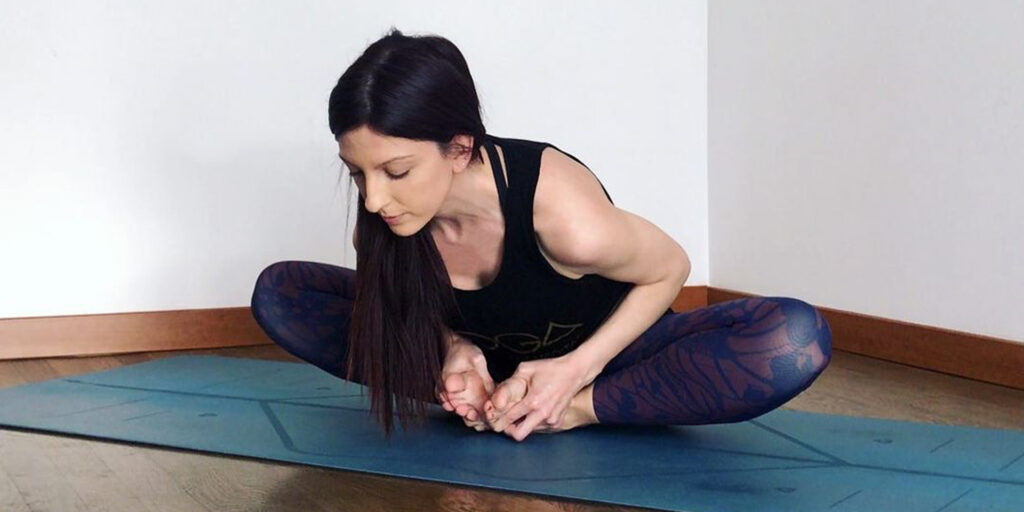
- If you want to make the position deeper and increase the stretching, inhale deeply and as you exhale flex your torso forward imagining bringing it to the floor, always keeping your back straight, always remember to project your pubis to the ground and rotate your coccyx upwards so that the flexion of the torso starts from the hips.
- To exit the position, return with your torso straight, slowly bring your knees upwards, in contact with each other, accompanying them with your hands. Extend your legs in front of you and shake them slightly.
2. Malasana
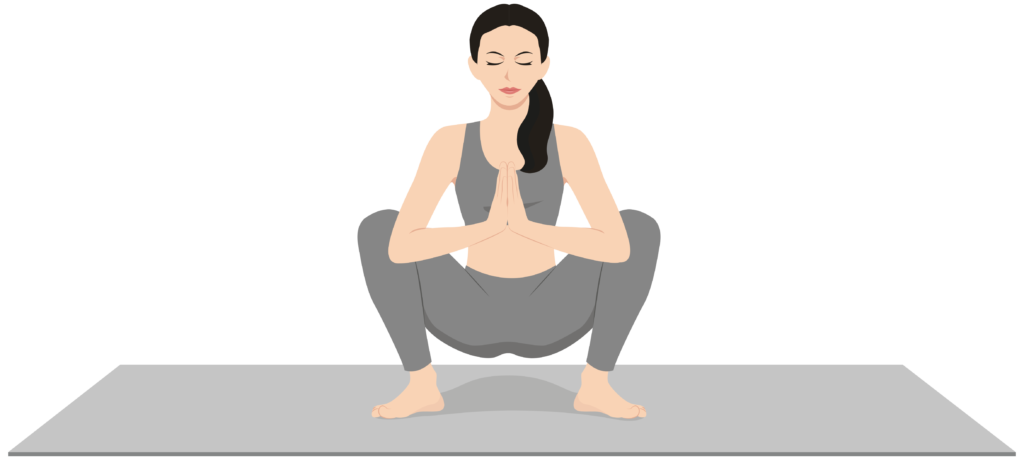
- From a standing position, spread your legs a little wider than your hips, point your toes slightly outwards and place your hands in prayer position in front of your chest.
- Slowly bend your knees and lower yourself as far as your body allows, squatting between your knees.
- Apply light pressure with your elbows on your legs to help you open them outwards.
- Remain in this position for 5 or more breaths.
- To come out of the position you can gently bring your buttocks to the ground and bring yourself into a sitting position.
3. Anjaneyasana
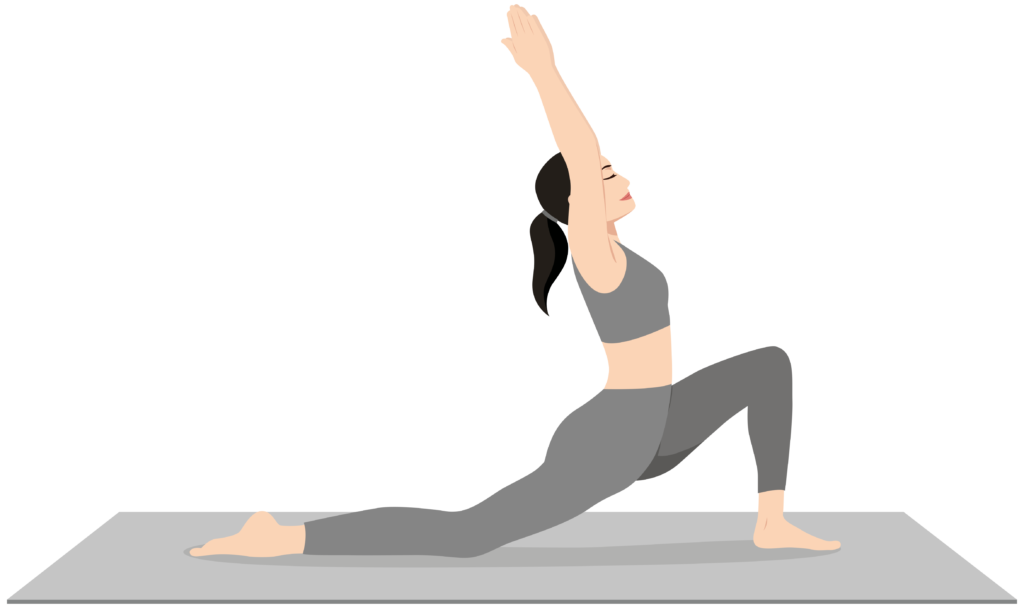
- You can enter this pose two ways: from a standing position, bringing your left leg back as you bend your right knee and gently lower your left knee to the floor. Or you can go into plank and bring your right leg forward, between your hands, leaving your left leg extended behind you with your knee in contact with the mat. If you need, you can place a pillow or blanket under your knee in contact with the floor.
- Make sure your right knee is above your right ankle and no further.
- The foot of the left leg is extended and pointed backwards.
- Place your hands on your hips, or in prayer in front of your chest, or if you prefer, extend your arms upwards with the palms of your hands in contact with each other. Relax your shoulders, bringing them down away from your ears and lengthen your torso upwards.
- Keep your back straight and your abdominal muscles active by bringing your navel inward.
- Your gaze can remain straight ahead or you can direct it towards your hands extended overhead.
- Hold for at least 5 breaths and repeat with the other leg.
- To exit the position, bring your hands back to the ground, lift yourself up by pushing your shoulders on the mat and bring your leg back, bringing you into tabletop position.
4. Pigeon Pose
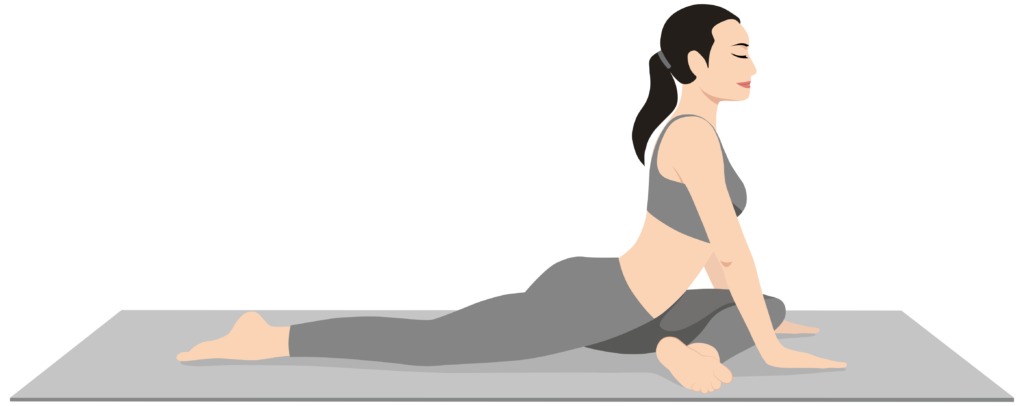
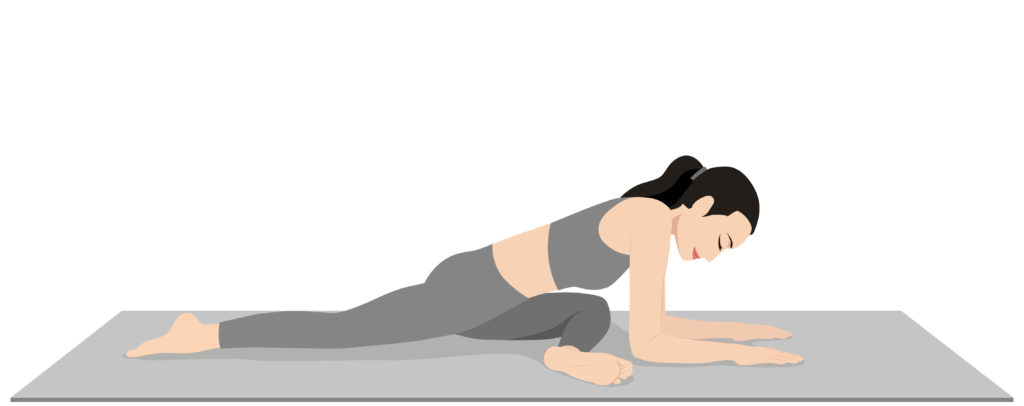
- Get into tabletop position with your hands and knees on the mat. Bring your right leg forward, thinking of bringing your ankle towards your left wrist, positioning your shin horizontally, parallel to the short side of the mat. Extend your left leg back, bringing it completely onto the mat with your foot extended and pointing back.
- Try to keep both hips straight, facing forward, avoiding opening more towards one hip. To help you maintain alignment, you can place a block under your right buttock.
- Your torso can remain raised or you can lean forward on your leg.
- If keeping your shin horizontal in front of you is too intense, you can bring your heel towards your groin, reducing the space.
- Hold for 5 or more breaths and then repeat with the other leg.
- Exit the position gently, first bringing the heel towards the groin and pushing with your hands and shoulders on the mat to create space and bring the leg back, into tabletop or plank.
5. Upavistha Konasana
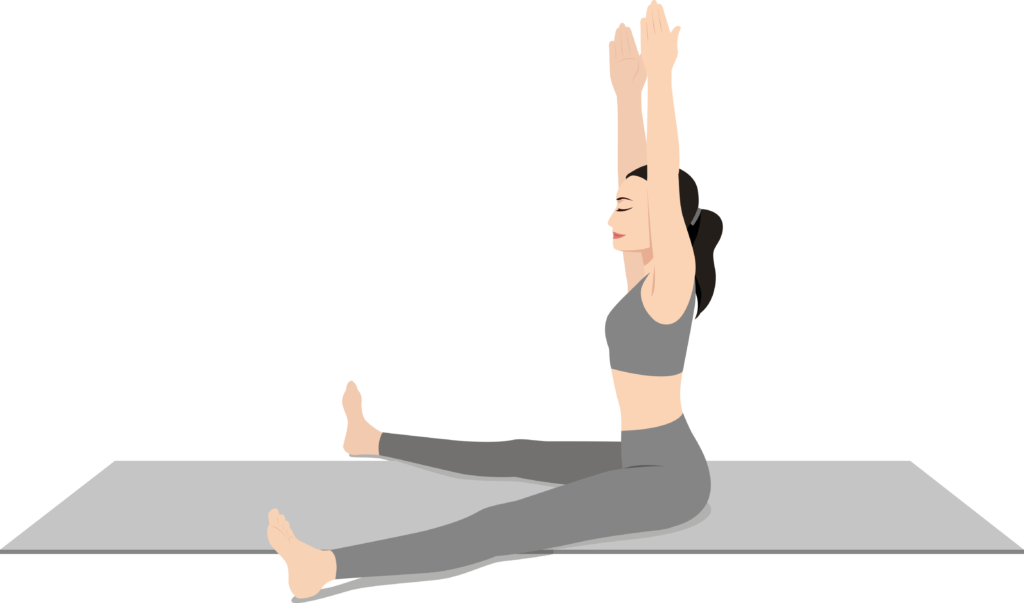
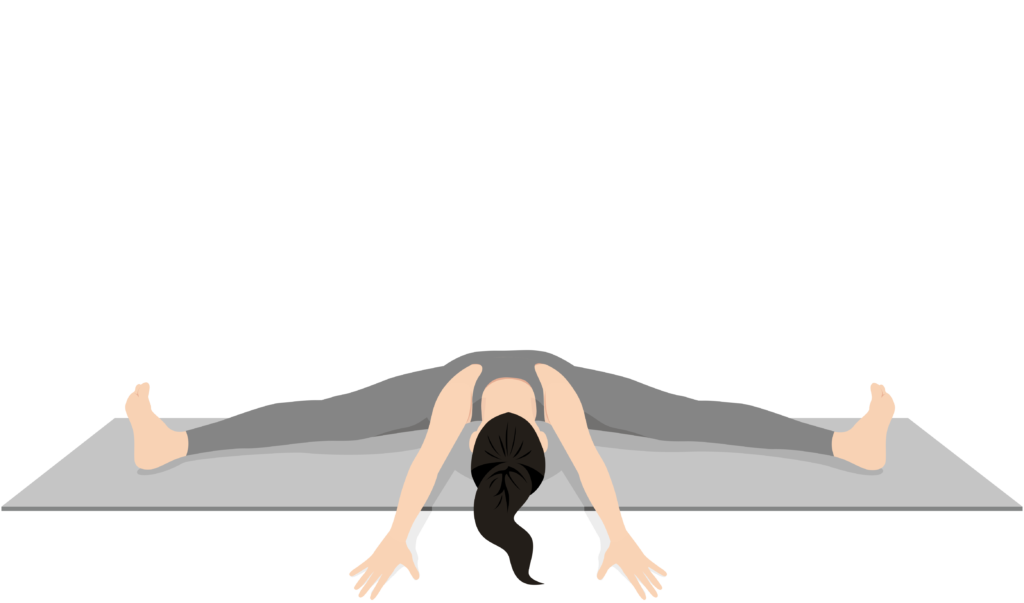
- Sit on the mat with your legs extended in front of you. Spread your legs as far as you can, without effort, try to keep them tense.
- Keep your feet in dorsal flexion, in order to activate the quadriceps and calf muscles.
- Root your sit bones well to the ground, inhale, lift your arms above your head and extend your back, keeping your spine erect, exhale and gradually begin to flex your torso, taking care that the movement starts from the hip joint. Project your pubis onto the ground and rotate your coccyx upwards to facilitate bending of your torso.
- If it’s comfortable for you, grasp the outside of your feet with your hands, or your big toes with your index and middle fingers, and bring your chest closer to the ground. Alternatively, keep your hands in front of you on the floor, or simply rest your forearms.
- DO NOT pull with your arms to try to go deeper and do not force the movement, to avoid causing injury.
- Stay as far as you can reach with your torso, keeping the position active and feeling the stretch in the inner thigh muscles.
- Hold for 5 or more breaths.
- Slowly come out of the position by lifting your torso to return to the straight position and gently bring your legs together.
- Alternatively, you can work on this position by lying on your back, with your buttocks in contact with the wall and your legs extended upwards, so that the wall can give you support and help you in the position. Slowly spread your legs, letting them slide towards opposite sides, towards the floor, and remain in this position using gravity.
Always remember to have patience on the way to opening your hips.
You’ve spent your whole life making your hips stiff and not very mobile, with your daily habits, don’t expect them to open in a day or a week. In some cases it can take months or years of practice.
After working on opening positions, give your hips time and well-deserved rest to recover.
Always be grateful for your body and appreciate its rigidity and looseness at the same time. Thank your hips and body for the work they do every day, never force them, enjoy the journey and appreciate every little progress.